


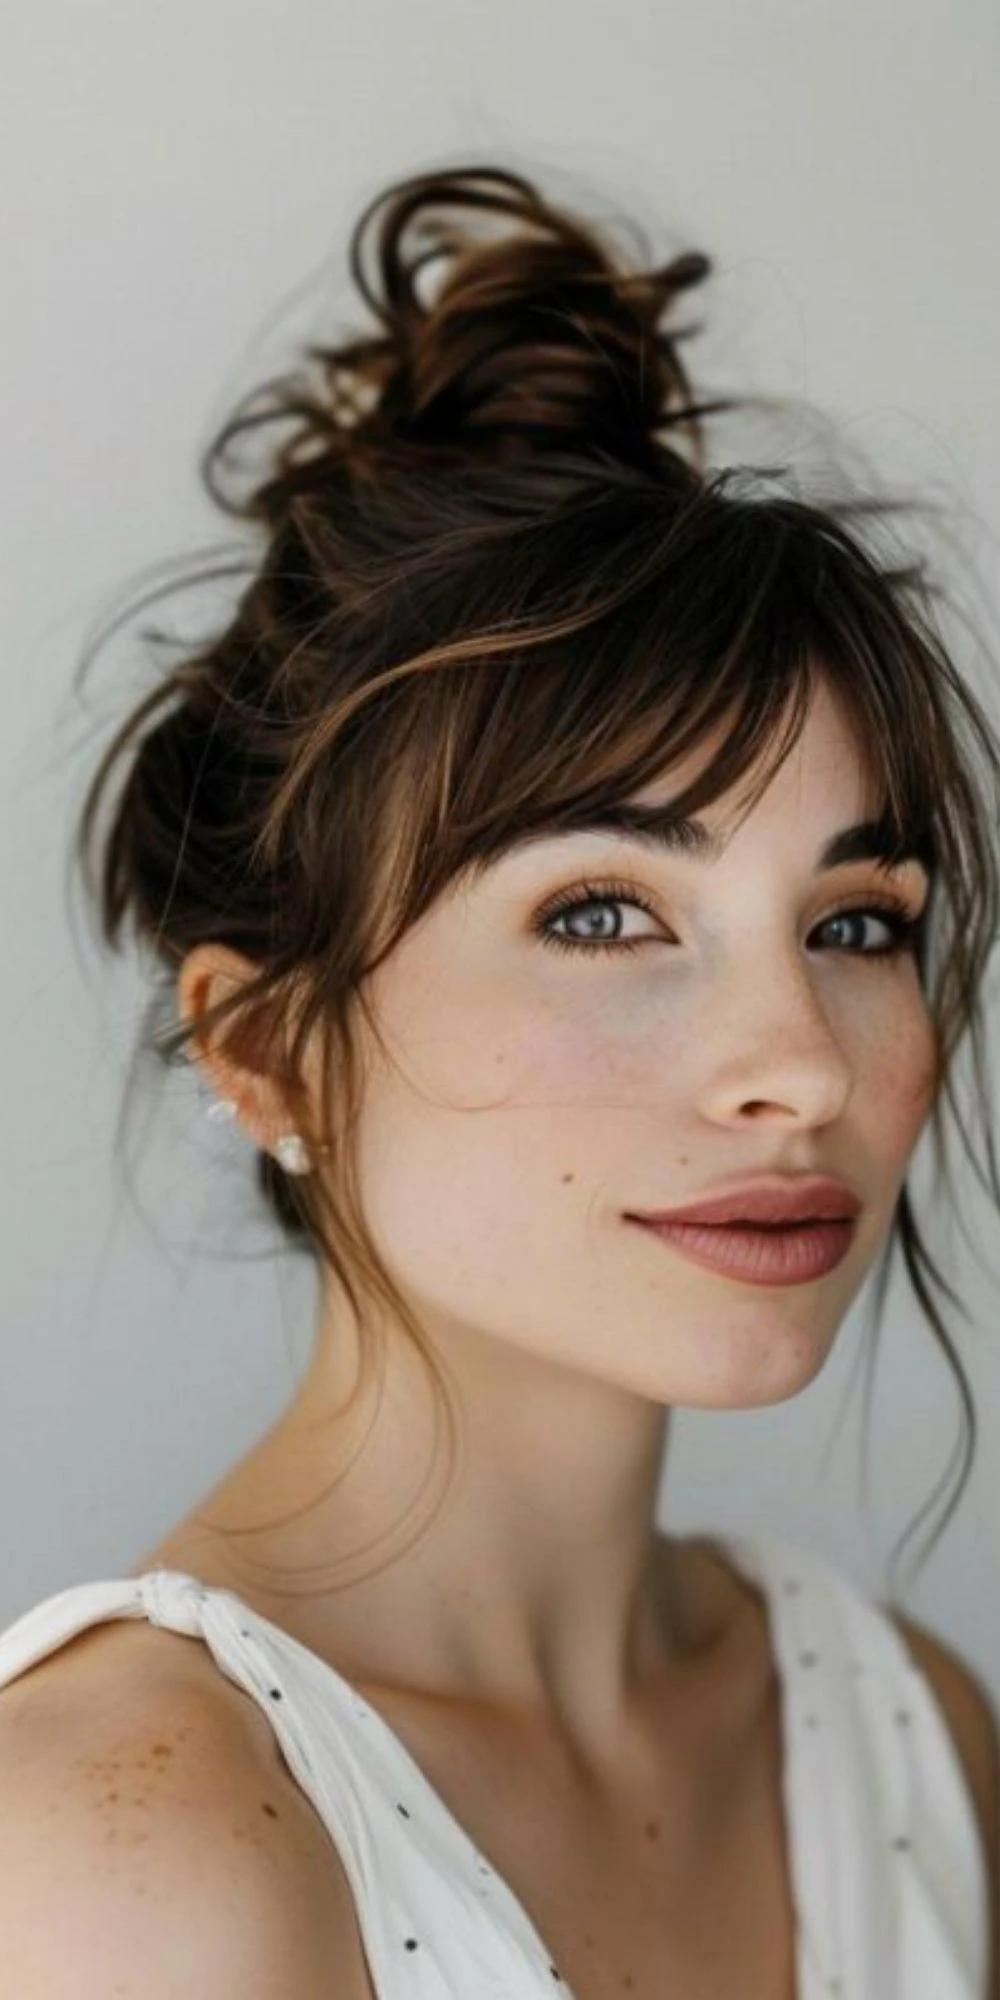


Creating a chic bun with short hair can seem difficult at first. But with the appropriate technique and a few clever tactics, even the shortest hair can be styled into a polished, attractive updo. Whether you’re off to a business meeting, a special occasion, or simply want to change your everyday look, this guide covers everything you need to perfect the short hair bun, from must-have products and step-by-step instructions to creative variations on the style.
Why a Bun Looks So Great on Short Hair
Many people think that short hair restricts their styling options. In fact, very often it’s the other way around. Most beginners are surprised by the variety of short hair buns. Buns hold hair neatly away from your face, instantly improve your look, and allow you to experiment without the need for extensions or waiting periods. With a little patience and the correct tools, a bun with short hair can look just as polished and purposeful as one made with longer lengths.
The secret is that short hair works differently: you work with texture, grip, and strategic pinning rather than weight and length. Once you understand this, the whole process becomes more manageable and even fun.
Tools You Need Before You Start
Preparation makes a difference when working with short hair. Before you start, check that you have the following items.
Bobby pins that match your hair color
Small textured hair elastics that cling better
Texturizing spray or strong hold hairspray
A comb or teasing brush
Light styling gel or mousse
A small hair doughnut or bun maker for extra volume
In general, having everything at hand before you start means fewer interruptions and easier styling. Having various bobby pin sizes is very helpful if you’re new to updos. Mini pins are ideal for getting into short layers that regular pins don’t quite reach.
How to Make a Bun With Short Hair Step-by-Step
This core technique is the basis for every bun variation discussed later in this tutorial. Follow these steps carefully, then make them your own based on your hair type and texture.
Prep Your Hair
Start on clean, dry hair, but remember one thing. Hair that has just been washed is usually too slick and slippery to hold an updo. If you washed your hair that morning, a touch of texturizing spray will give it the hold it needs. Day-two hair works even better for a bun style, because the natural oils will give you texture all by themselves.
Part and Gather Your Hair
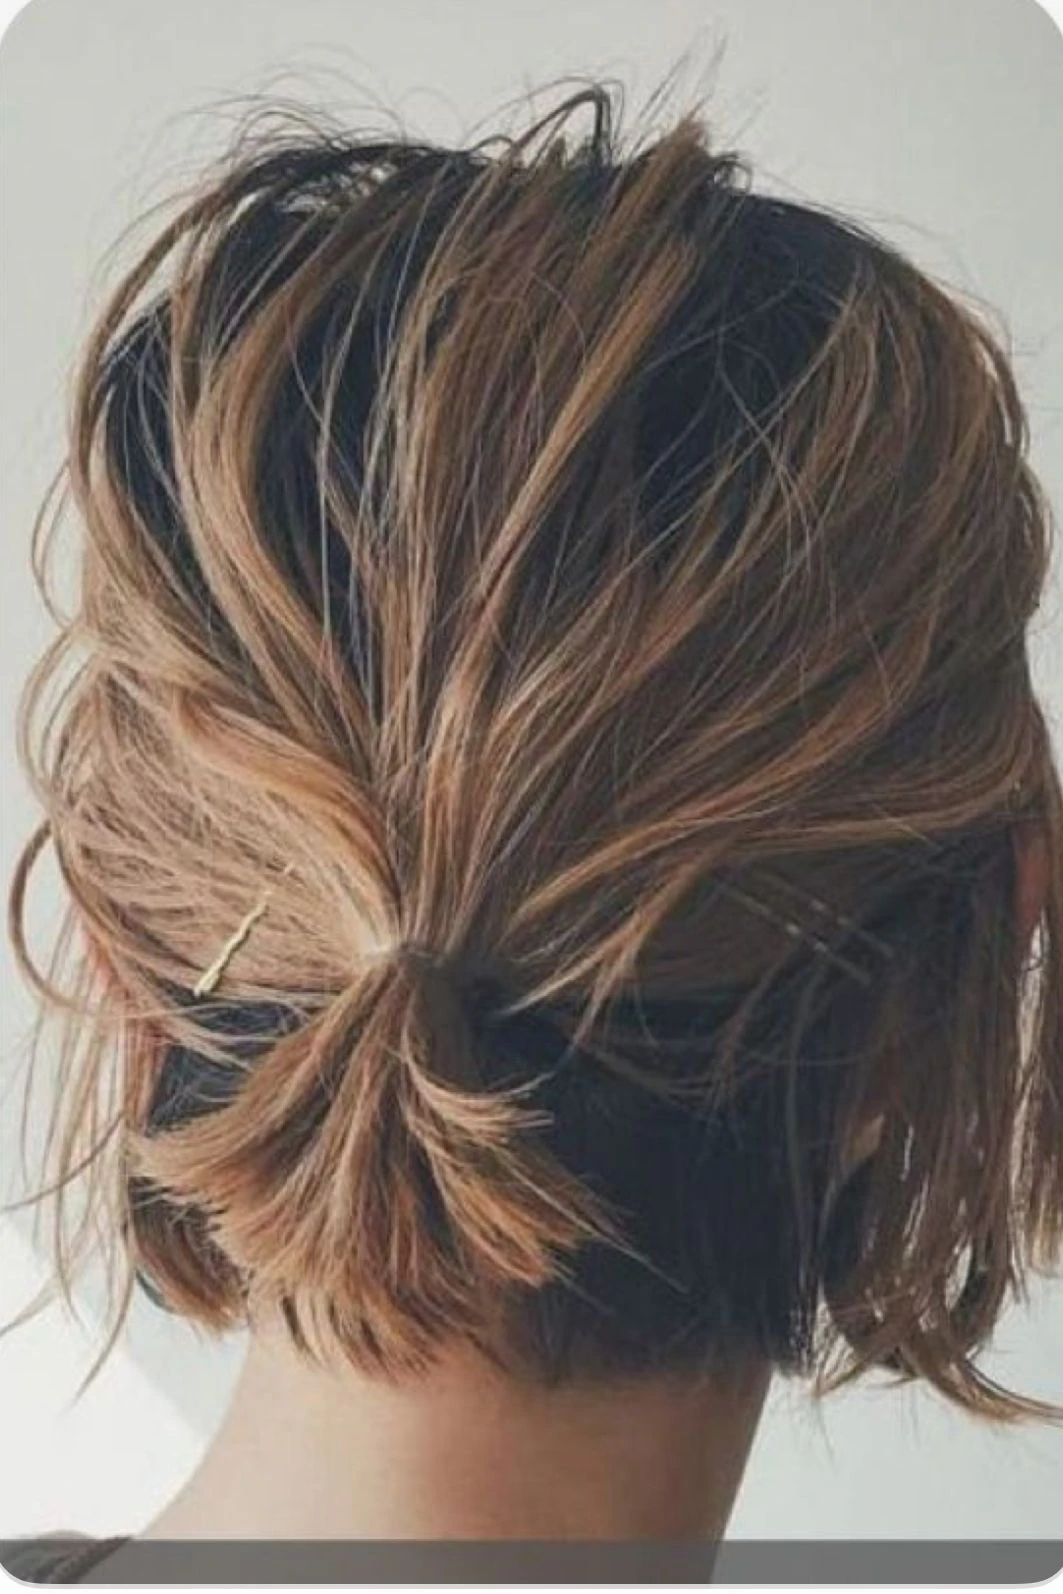
Choose a part that suits the look you want. A middle part offers a classic, symmetrical look, while a side part creates a softer, more relaxed look. Once you have established your part, gather your hair at the desired position for your bun. A low, classic bun sits at the nape of the neck, or, for a topknot, place it higher near the crown. Secure it with a mini elastic. Don’t be disappointed if some of the shorter strands come out. You’ll handle those in the next steps.
Shape and Lock the Bun
Twist your ponytail into a coil and wrap it at the base to create the bun shape. Secure the ends with bobby pins, tucking any loose strands under the bun as you go. If your hair is very short, take portions and pin them individually rather than trying to twist all the hair at once. Cross your bobby pins in an X shape for a much firmer hold.
Enhance and Refine the Style
Rub a small amount of styling gel between your fingertips and lightly smooth down flyaways or short baby hairs framing your face. A soft toothbrush or fine-bristle brush will help spread the gel evenly without adding rigidity. For a softer look and more dimension, leave a few pieces to frame your face and add a little oomph to your appearance.
Lock Down the Style
Finish with a generous mist of strong-hold hairspray sprayed at a comfortable distance. This final step is what will keep that bun together all day long, especially in humid or windy weather. For very active days, a little mesh bun net over the finished style gives an extra layer of security without being noticeable.
Creative Bun Alternatives to Try
Once you learn the basic technique, the fun of experimenting with different styles begins. Each variant is suitable for a different mood or occasion.
Easy Messy Bun
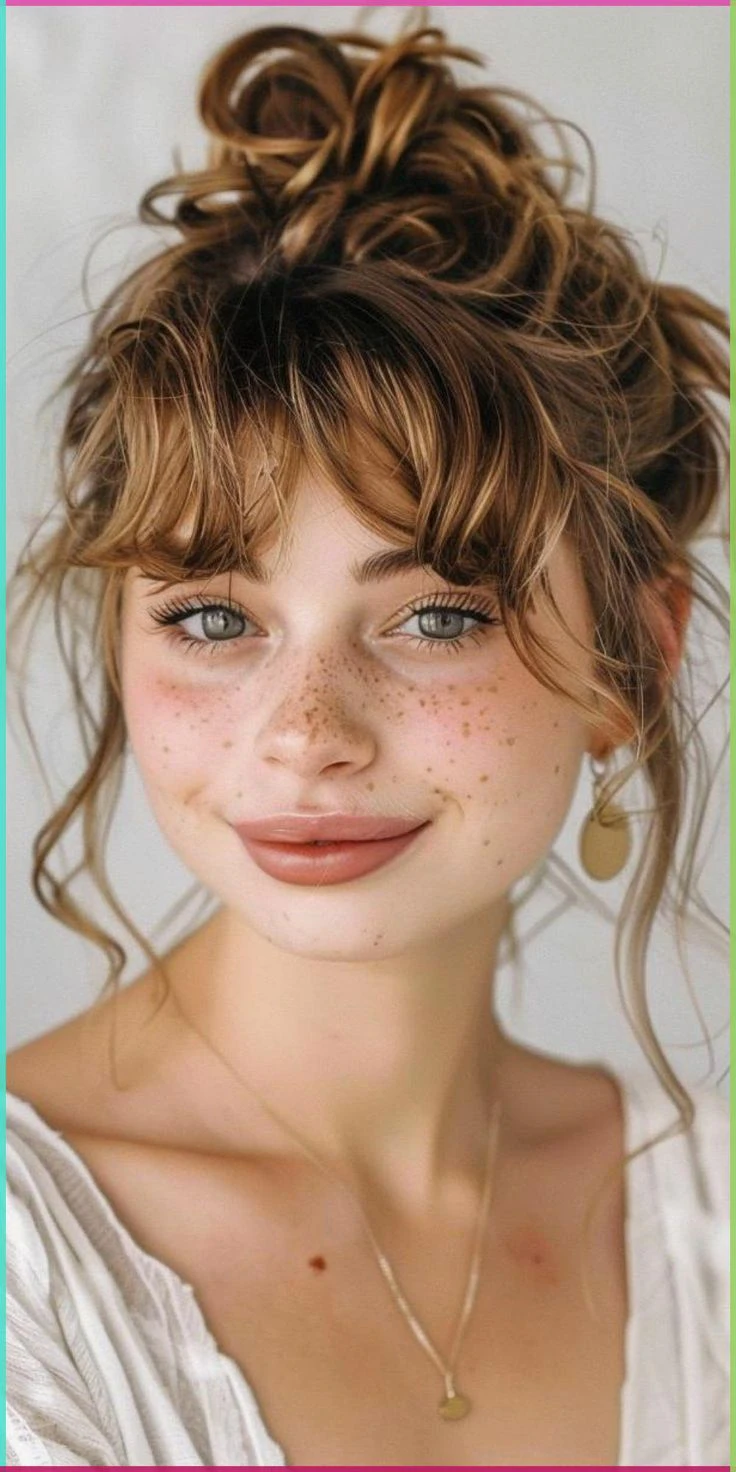
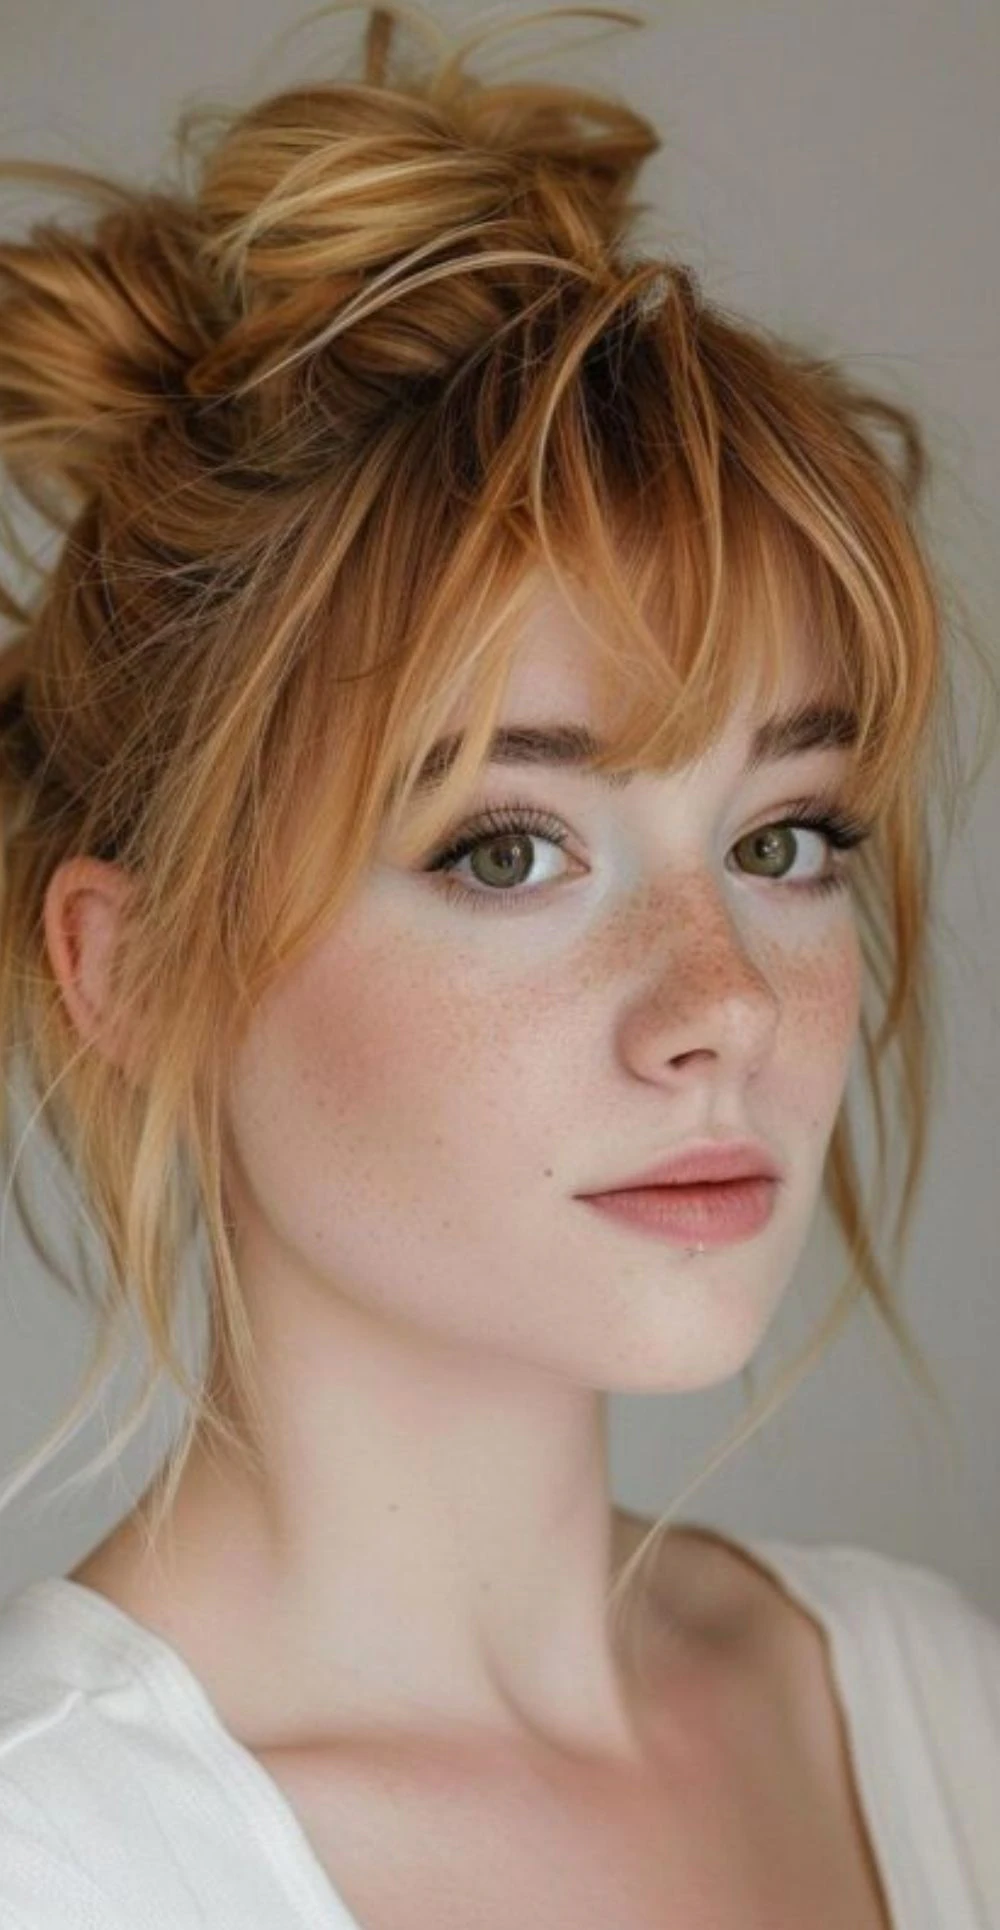
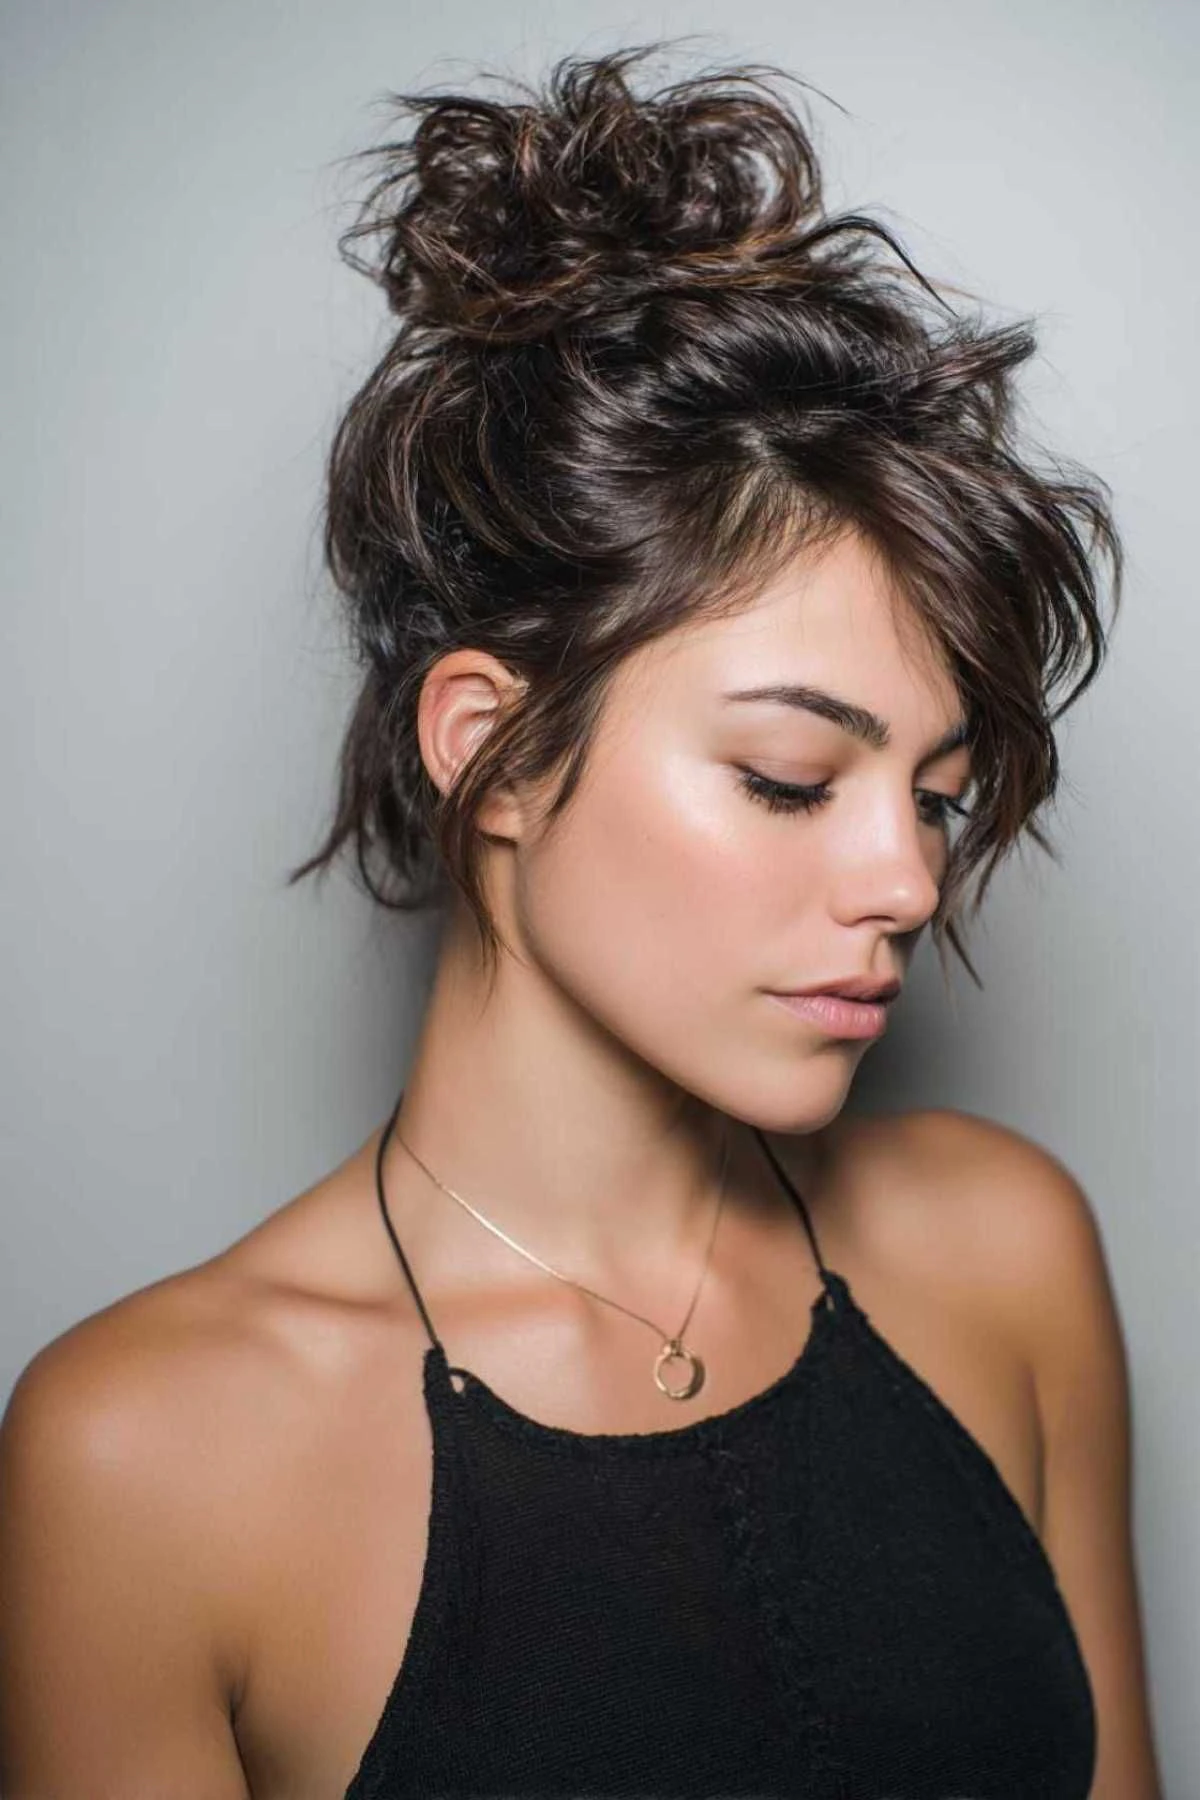
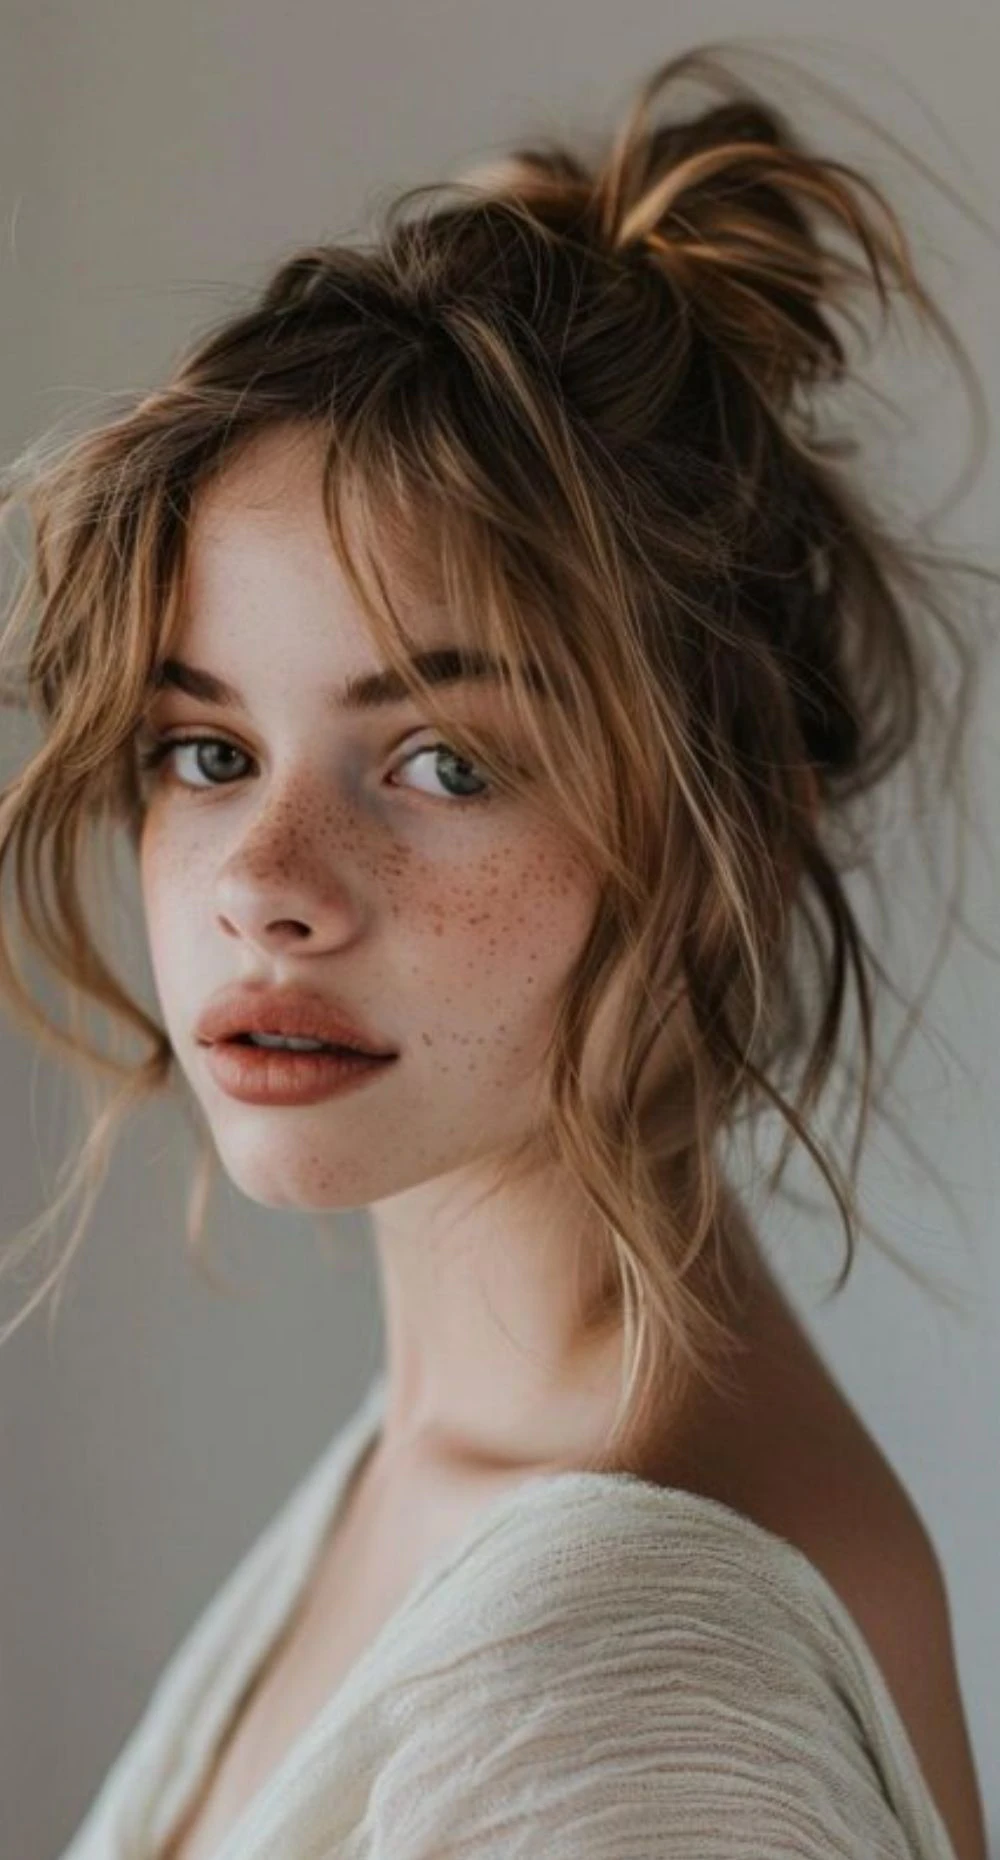
The messy bun is excellent for casual days, weekend getaways, or laid-back creative situations. Instead of pulling your hair tight, gently gather and pin it, letting some strands fall naturally. Before you start, lightly tease the crown for added volume and a fuller look to the bun. Pulling out a few face-framing pieces later completes the laid-back look perfectly.
The Sleek Topknot
If you want to look more professional or polished, the sleek topknot works. Pull your hair up towards the crown and secure it tightly. Apply a little gel or pomade on the sides to get rid of any stray hairs. Twist the ponytail tightly into a little topknot, then secure it with pins. Light shine spray adds the finishing touch to this style for a clean, purposeful look that works well in formal settings.
The Textured Braided Bun
A braid adds visual appeal and texture, making it perfect for occasions that call for a little extra detail. Braid your ponytail before twisting it into the bun form, or do two little braids on the sides of your head and pin them into the bun structure. This version photographs brilliantly and works particularly well for events such as weddings, graduations, or nights out.
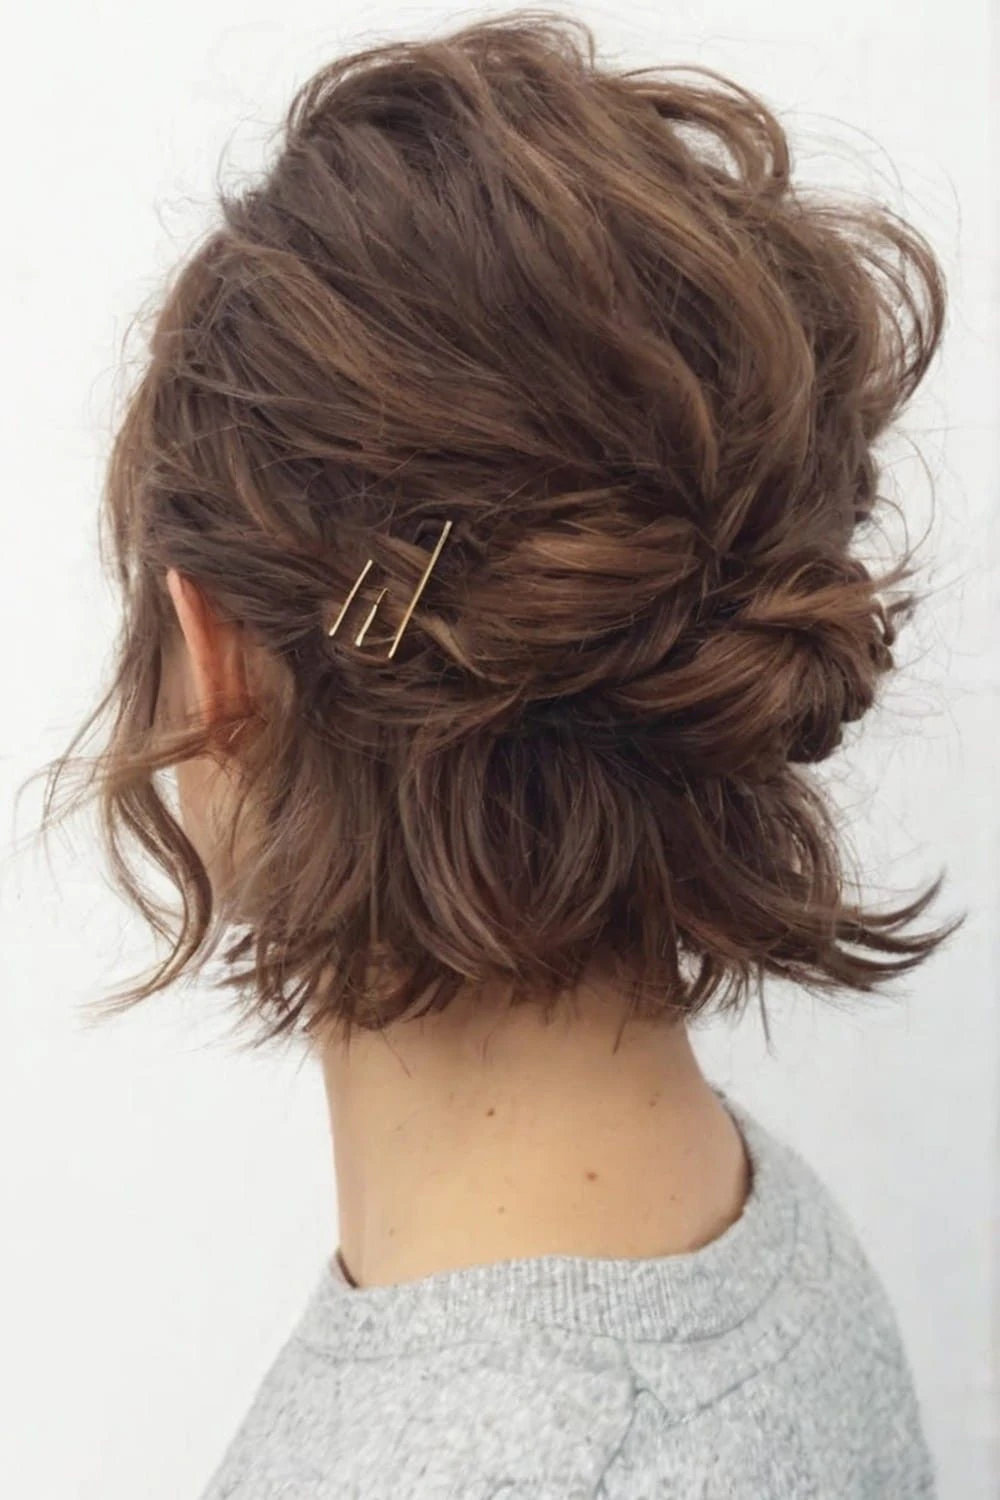
The Playful Half-Up Bun
A half-up style is a fantastic choice if you have really short hair or want a look that feels trendy and simple. Take the top portion of your hair and form it into a tiny bun near the crown. Leave the bottom parts down. The combination of a tidy bun and loose lower hair produces a cool, contemporary appearance that suits various face shapes and hair types.
How to Fix the Most Common Short Hair Bun Problems
Even with the best technique, short hair buns have their own set of obstacles. Knowing how to get past these hurdles saves time and aggravation.
How to Work With Short Layers That Don’t Stay Put
Short layers are often the hardest part of making a bun with short hair. The layers around your face and neck tend to escape, regardless of how many pins you use. The best approach is to work in tiny sections. Before you pin each section, twist it. A tiny bit of gel will help keep those unruly pieces in place. For fine, short parts, mini bobby pin grips are much better than the regular-sized ones.
How to Add Volume to a Flat Bun
Short hair buns can sometimes appear thin or flat, particularly on fine hair. Gently fluff your ponytail before wrapping it into the bun to create the illusion of additional volume. You can also use a little hair doughnut or a bun maker as the base. Even if your hair is thin or fine, wrapping it around the bun will make it look fuller and more substantial.
How to Keep the Bun from Sliding All Day Long
If you’ve got shorter hair, you know the frustration of a bun that looks great in the morning and then slides out by the afternoon. Switching from smooth to textured elastics makes an obvious difference. Textured elastics hold the hair in place rather than letting it move around. And angling your bobby pins, instead of laying them parallel to each other, really boosts hold. A light mesh bun cover is a practical and underrated solution for those who need their bun to last through heat or activity.
Products That Really Matter
Choosing the right products, particularly for short hair buns, simplifies the entire process and enhances the final outcome.
A texturizing spray is one of the most useful items to have for this style. It gives volume and quick hold to hair that would otherwise be too sleek to keep a bun form. Use a flexible-hold hairspray to lock in the finished style without making it seem stiff or crunchy to the touch. To smooth down edges and tame flyaways, you need a lightweight gel or pomade that won’t weigh hair down. Mini bobby pins are worth mentioning again here because they really make short hair styling a lot easier than regular-size pins.
Helpful Tips to Remember
Working with your hair’s natural texture is always going to give you better results with less work. If you have a natural wave or curl, shape your bun with your hair in mind and forget about getting a perfectly smooth finish. Short hair buns are usually more polished with a little imperfection built in, so don’t be discouraged by a strand or two that rests slightly out of position.
It’s also worth playing around with alternative bun placements. A low bun at the nape works especially well for oval faces, while a high topknot lengthens the look of rounder face types. On a relaxed day, try both positions to get a better feel for which one suits your features before committing to one for an important occasion.
Finally, speed and confidence come with repeated practice. The first few times you try a bun with short hair, it may feel awkward and imprecise. But after a few times, the steps start to feel natural, and the whole procedure becomes substantially faster.
Can You Put Chin-Length Hair in a Bun?
Yes, definitely. Chin-length hair is one of the most workable lengths for short hair buns. The secret is patience and working in small sections. If you secure each section separately, you have more control and a cleaner result than if you try to grab everything at once.
Can Wearing a Bun Damage Chin-Length Hair?
There is nothing wrong with wearing a bun in itself. But if you are always tugging your hair into a tight ponytail or using sharp or scratchy elastics, it can put stress on your hair over time. Using gentle, snag-free elastics and avoiding too much tension at the roots helps reduce breakage. Switching up the position of your bun daily helps spread the strain evenly.
Do I Need Extra Hair or Extensions for a Bun?
No, you don’t need extensions. Many people with short hair create beautiful, full-looking buns without added hairpieces; a convincingly full result can be achieved using only natural hair, a small hair doughnut or bun maker, and effective texturizing products along with strategic pinning.
It can take a little patience to learn how to manage a bun with short hair at first, but the variety of styles available makes the work worth it. Short hair buns are really versatile for any situation and event—from sleek and polished to loose and textured. With the correct tools, good technique and a willingness to explore, you will find that short hair is no limitation on styling. It’s just a new starting point, and one that leads to some really lovely outcomes.